Replacing the heater wire in your walk-in freezer door is a crucial maintenance task that can ensure proper sealing, temperature control, and energy efficiency. In this step-by-step guide, we’ll walk you through the process to help you complete this essential repair safely and successfully.
For this tutorial, we used a U.S. Cooler® brand walk-in cooler. Your walk-in brand may differ in construction, but the general concepts remain the same.
If you have specific questions, please feel free to contact us at 866-261-2797.
Step 1: Turn Off Power
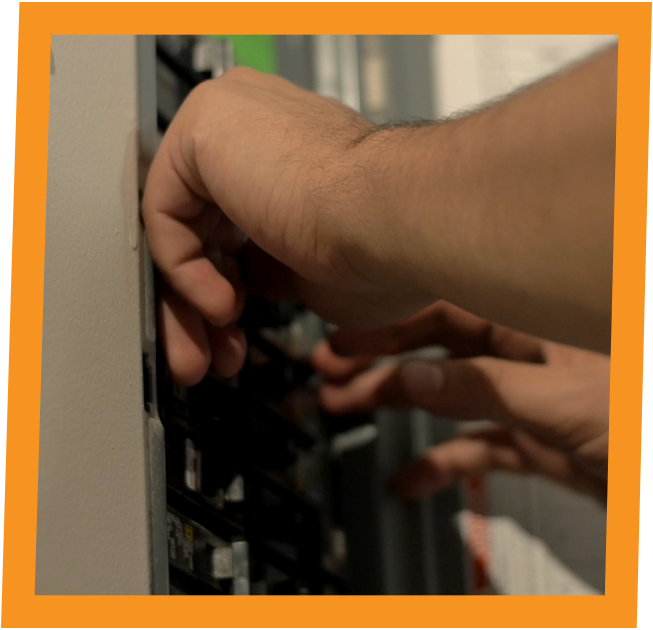
Before you begin any work on your walk-in freezer door, your first step is to ensure your safety. Turn off the power to the door by switching off the breaker in your breaker box. Safety always comes first.
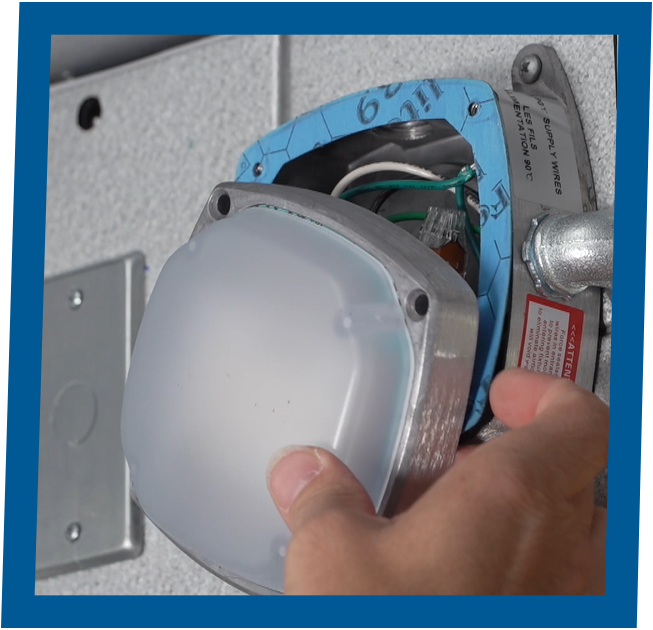
Step 2: Remove LED Light
Start by removing the LED light from its base. Disconnect the heater wire from the LED light fixture. This will allow you to access the components you need to replace.
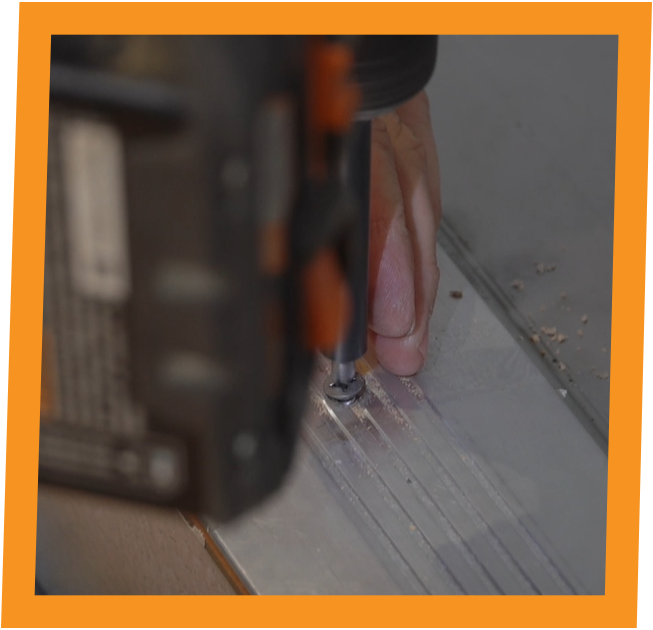
Step 3: Remove Threshold
Remove the screws that secure the threshold to the floor or concrete. Also, take out the rivets on each side of the threshold. Once these fasteners are removed, carefully lift the threshold away from the door frame.
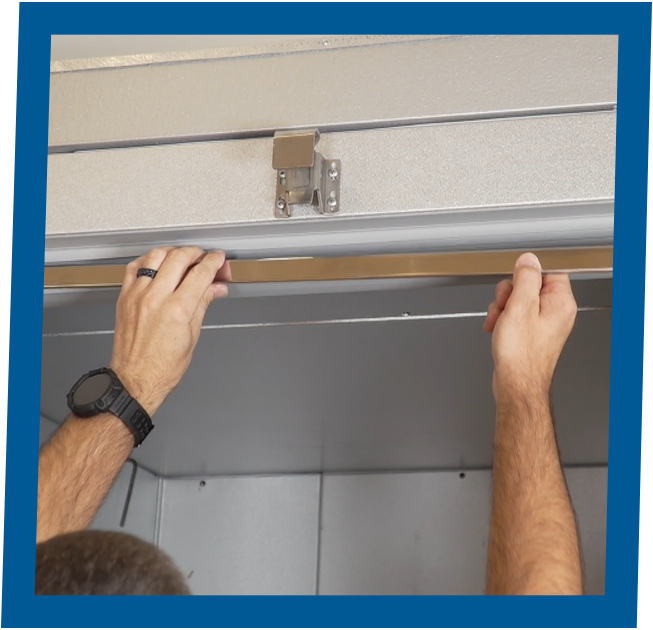
Step 4: Remove Steel Trim
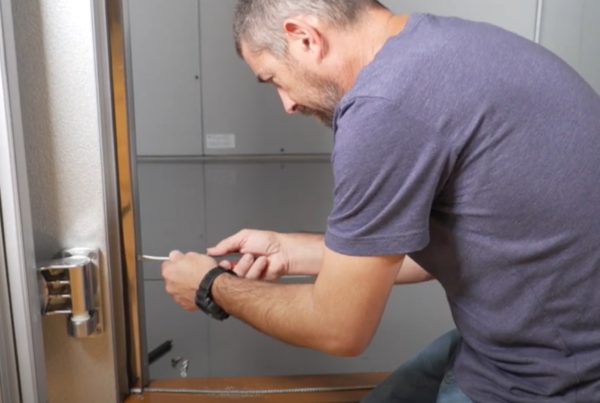
To access the heater wire, you’ll need to gently remove the stainless steel trim. Using a flat blade screwdriver, start at the bottom of the trim and work your way up to the top, carefully prying it away from the door extrusion.
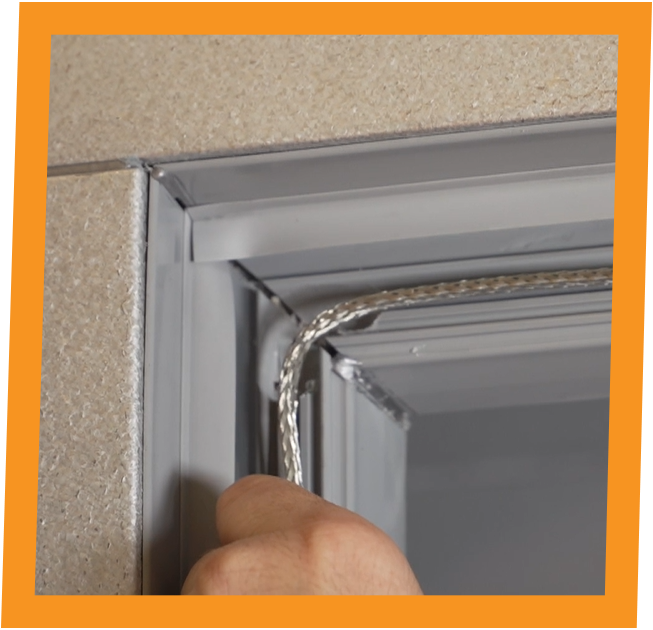
Step 5: Expose Heater Wire
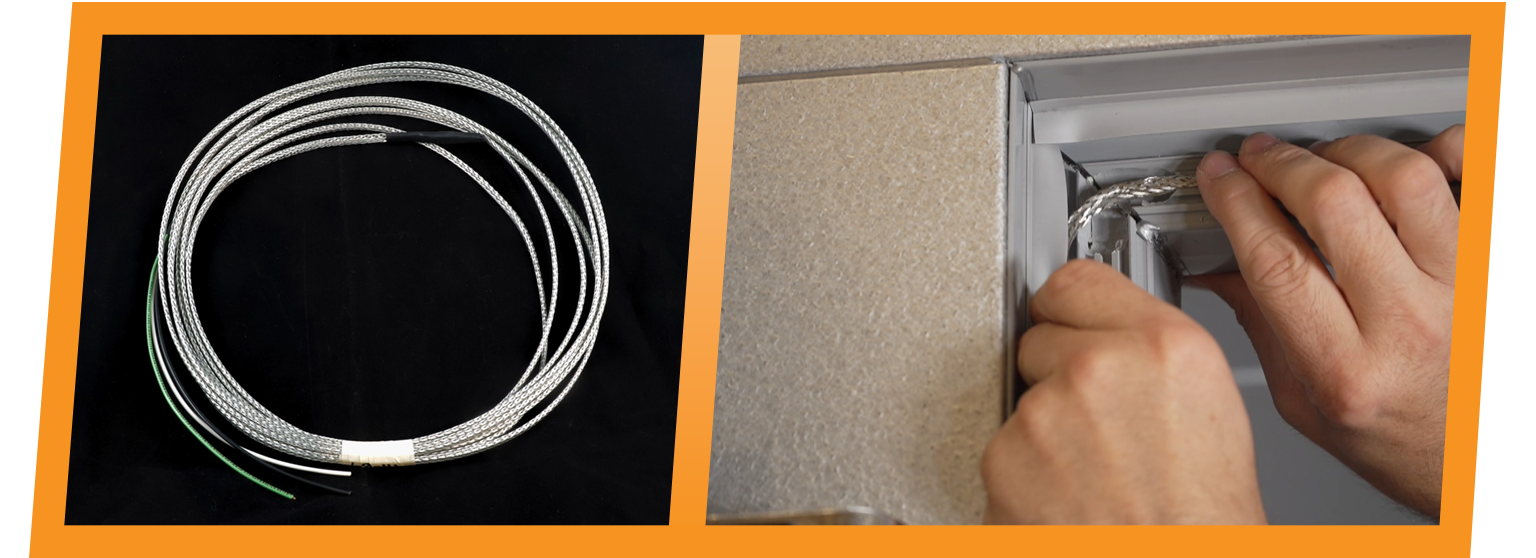
With the threshold and steel trim removed, you can now fully expose the heater wire from the door extrusion and the LED light fixture base. Ensure that the wire is accessible for the replacement process.
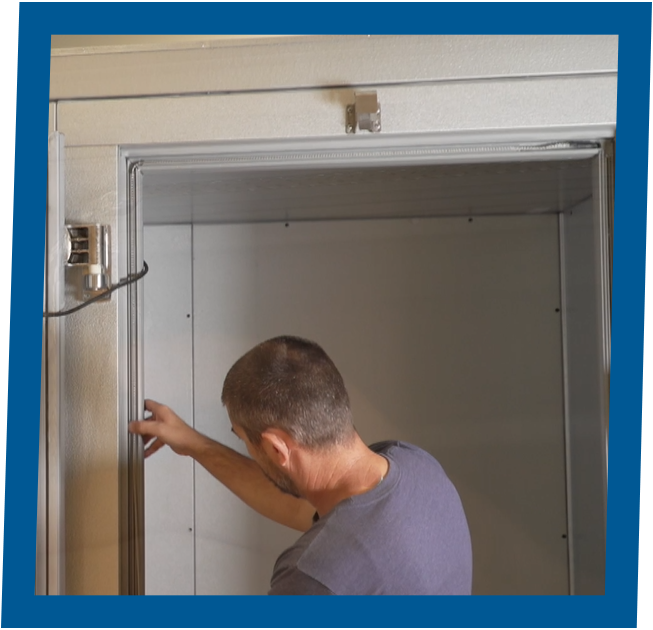
Step 6: Feed New Heater Wire
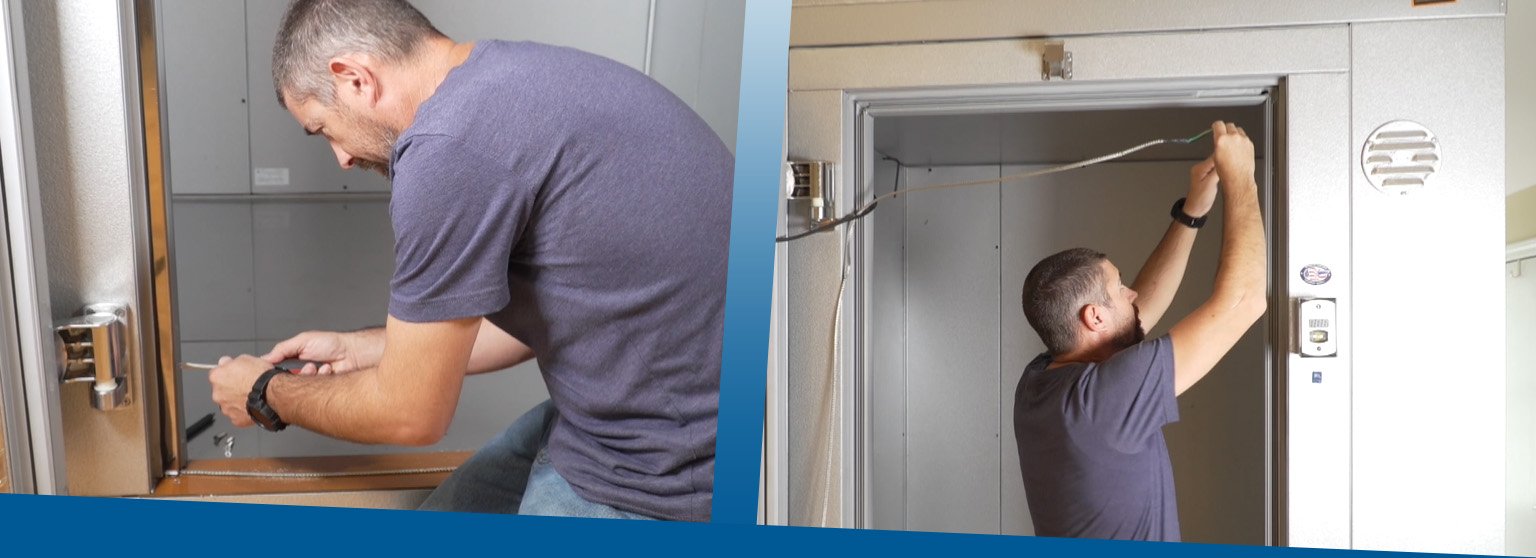
Feed the new heater wire through the door frame into the LED light fixture base. Make sure it’s properly threaded to ensure a secure connection.

Step 7: Install New Heater Wire
Now, install the new heater wire in the extrusion of the door frame where the old wire was removed. Be careful not to pull it too tight at the bottom; you want some slack to accommodate movement.

Step 8: Reinstall Steel Trim
Reinstall the stainless steel trim by first clipping it onto the inside of the extrusion and then snapping it into place over the outside ridge. Ensure it’s securely in place to maintain a clean and sealed look.
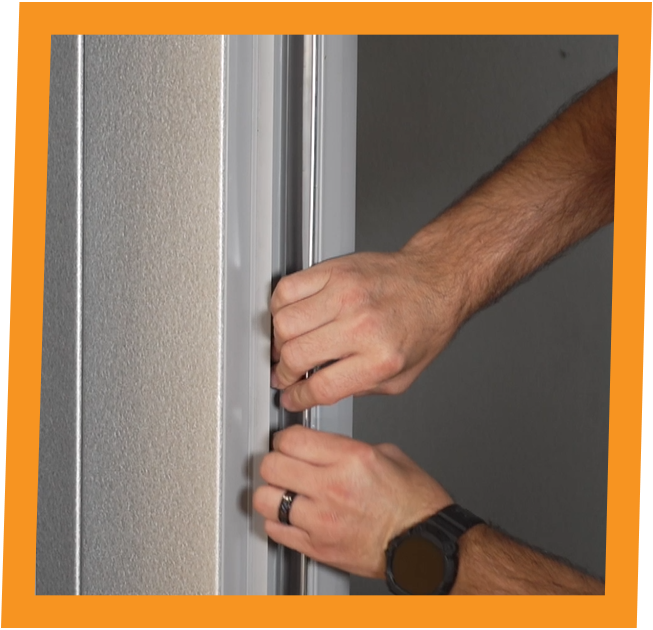
Step 9: Secure Heater Wire
Before reinstalling the threshold, tape the heater wire along the ridge on the bottom. This will prevent movement and protect it from any screws or damage during reinstallation.
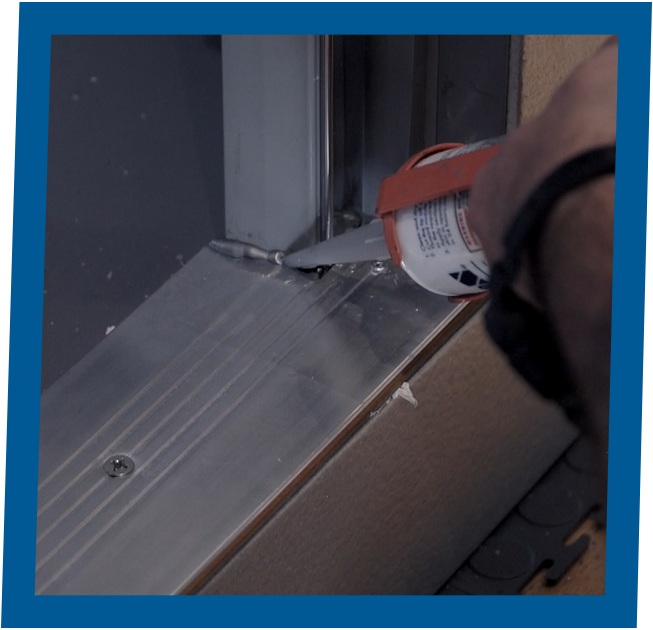
Step 10: Caulking
Apply caulk to the sides of the threshold where it meets the extrusion, as well as to the top corners of the stainless steel tracking. This helps create a watertight seal.
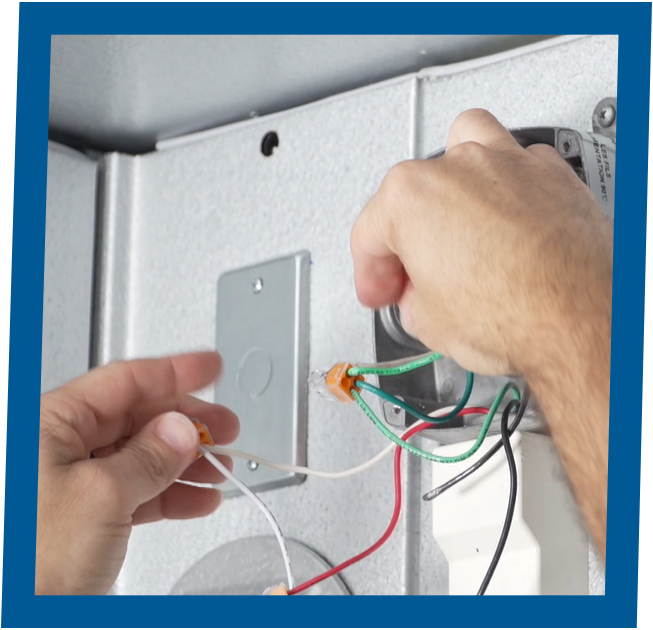
Step 11: Rewire
Finally, rewire the heater wire into the LED light fixture base, ensuring a secure connection. Apply caulk where the wire runs through the door frame to seal any gaps effectively.
Conclusion
Congratulations, you’ve successfully replaced the heater wire in your walk-in freezer door! Before finishing, remember to turn the power back on at the breaker to restore electricity to your door. With these steps, you’ve ensured proper sealing, temperature control, and energy efficiency for your walk-in freezer.
Safety, precision, and attention to detail are key in this process, so take your time and follow these steps carefully to achieve the best results. Enjoy your well-maintained walk-in freezer!
If you have questions or need further assistance please contact us.

