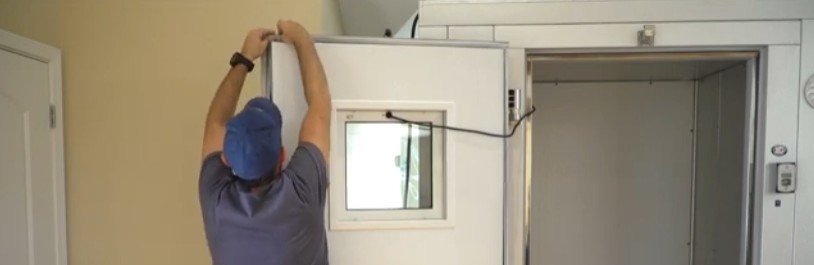
Replacing a walk-in door gasket is one of the easiest ways to improve performance—but only if you order the right one.
A gasket that’s slightly wrong can cause:
- gaps at the corners
- poor sealing
- frost and condensation
- wasted time and return headaches
Here’s the simple way to measure your gasket correctly the first time.
Step 1: Identify the Gasket Style
Not all gaskets attach the same way. Common types include:
- push-in / dart style
- snap-in style
- screw-on / retainer style
Before measuring, confirm how your gasket is mounted so you don’t end up with the wrong attachment type.
Step 2: Measure the Door Opening (Not Just the Old Gasket)
Old gaskets can shrink, warp, or stretch.
For the best results, measure the actual gasket channel area on the door where it seats.
Measure:
✅ width (left to right)
✅ height (top to bottom)
Step 3: Measure Corner-to-Corner
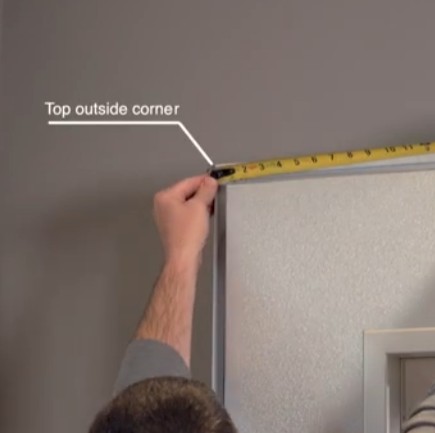
If the gasket wraps around the inside edge, take measurements corner-to-corner where the gasket sits.
Write it down clearly:
- Width = ____ inches
- Height = ____ inches
If you’re unsure, it’s better to measure twice than order twice.
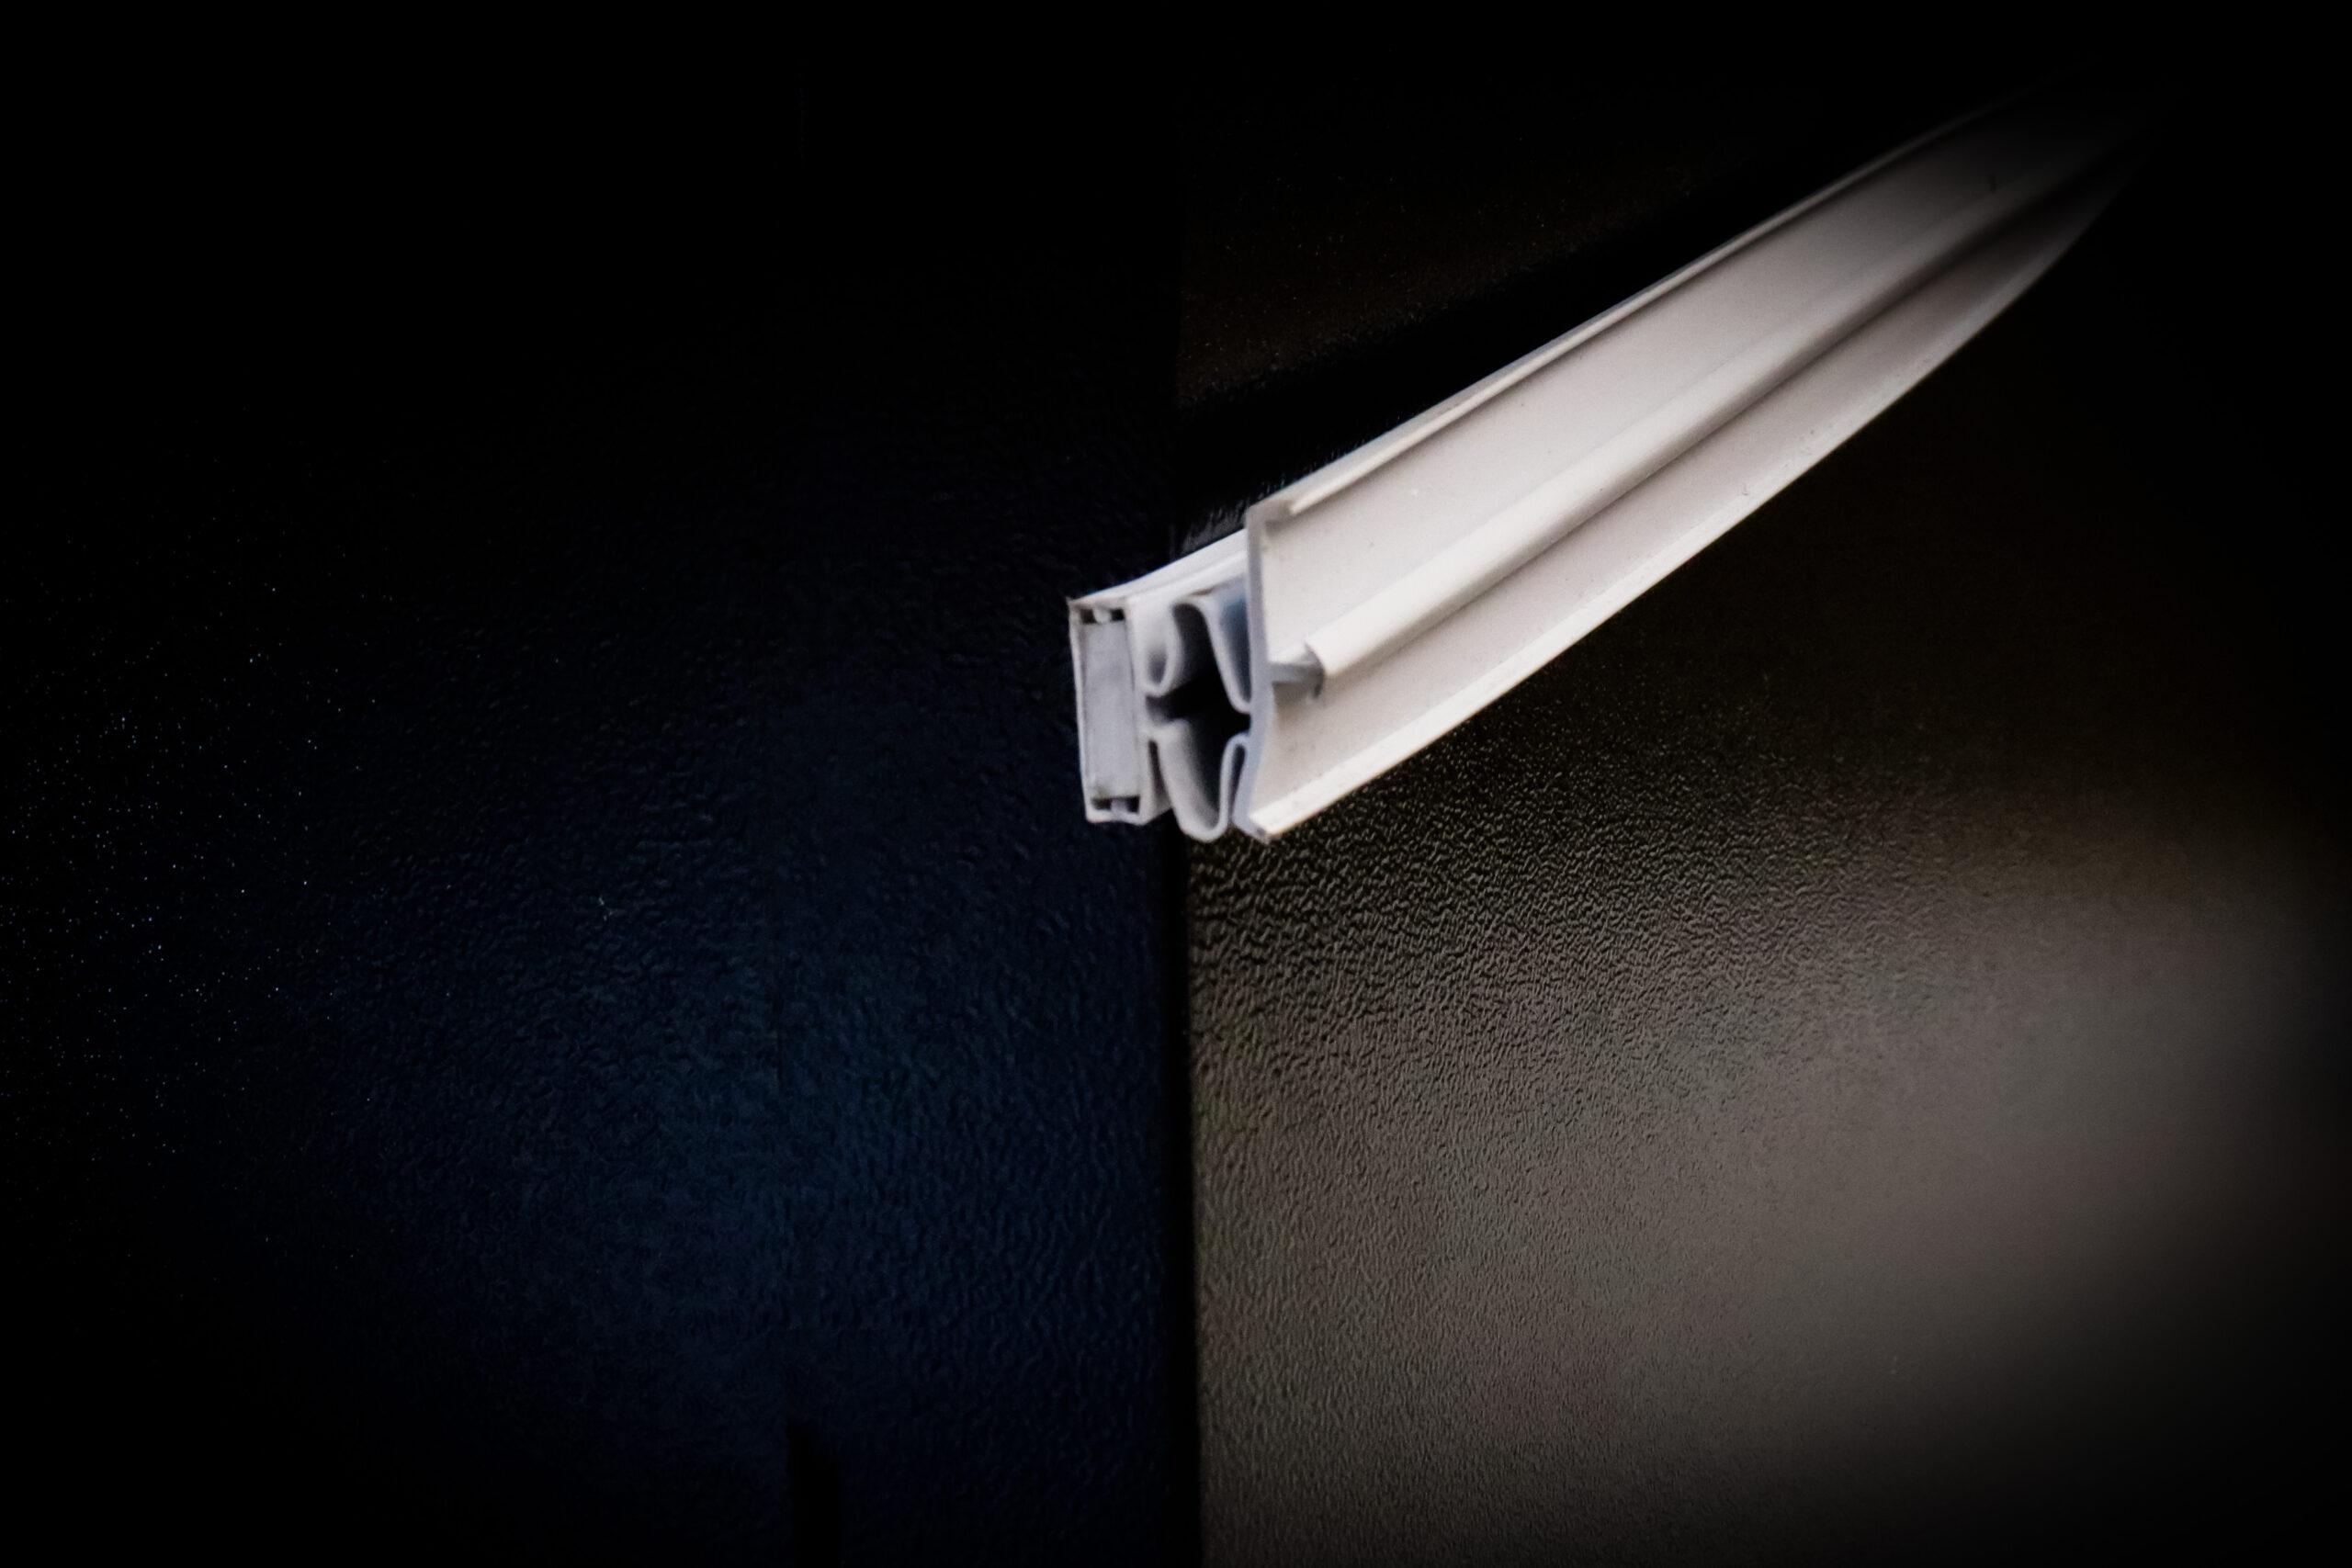
Step 4: Check the Profile (Very Important)
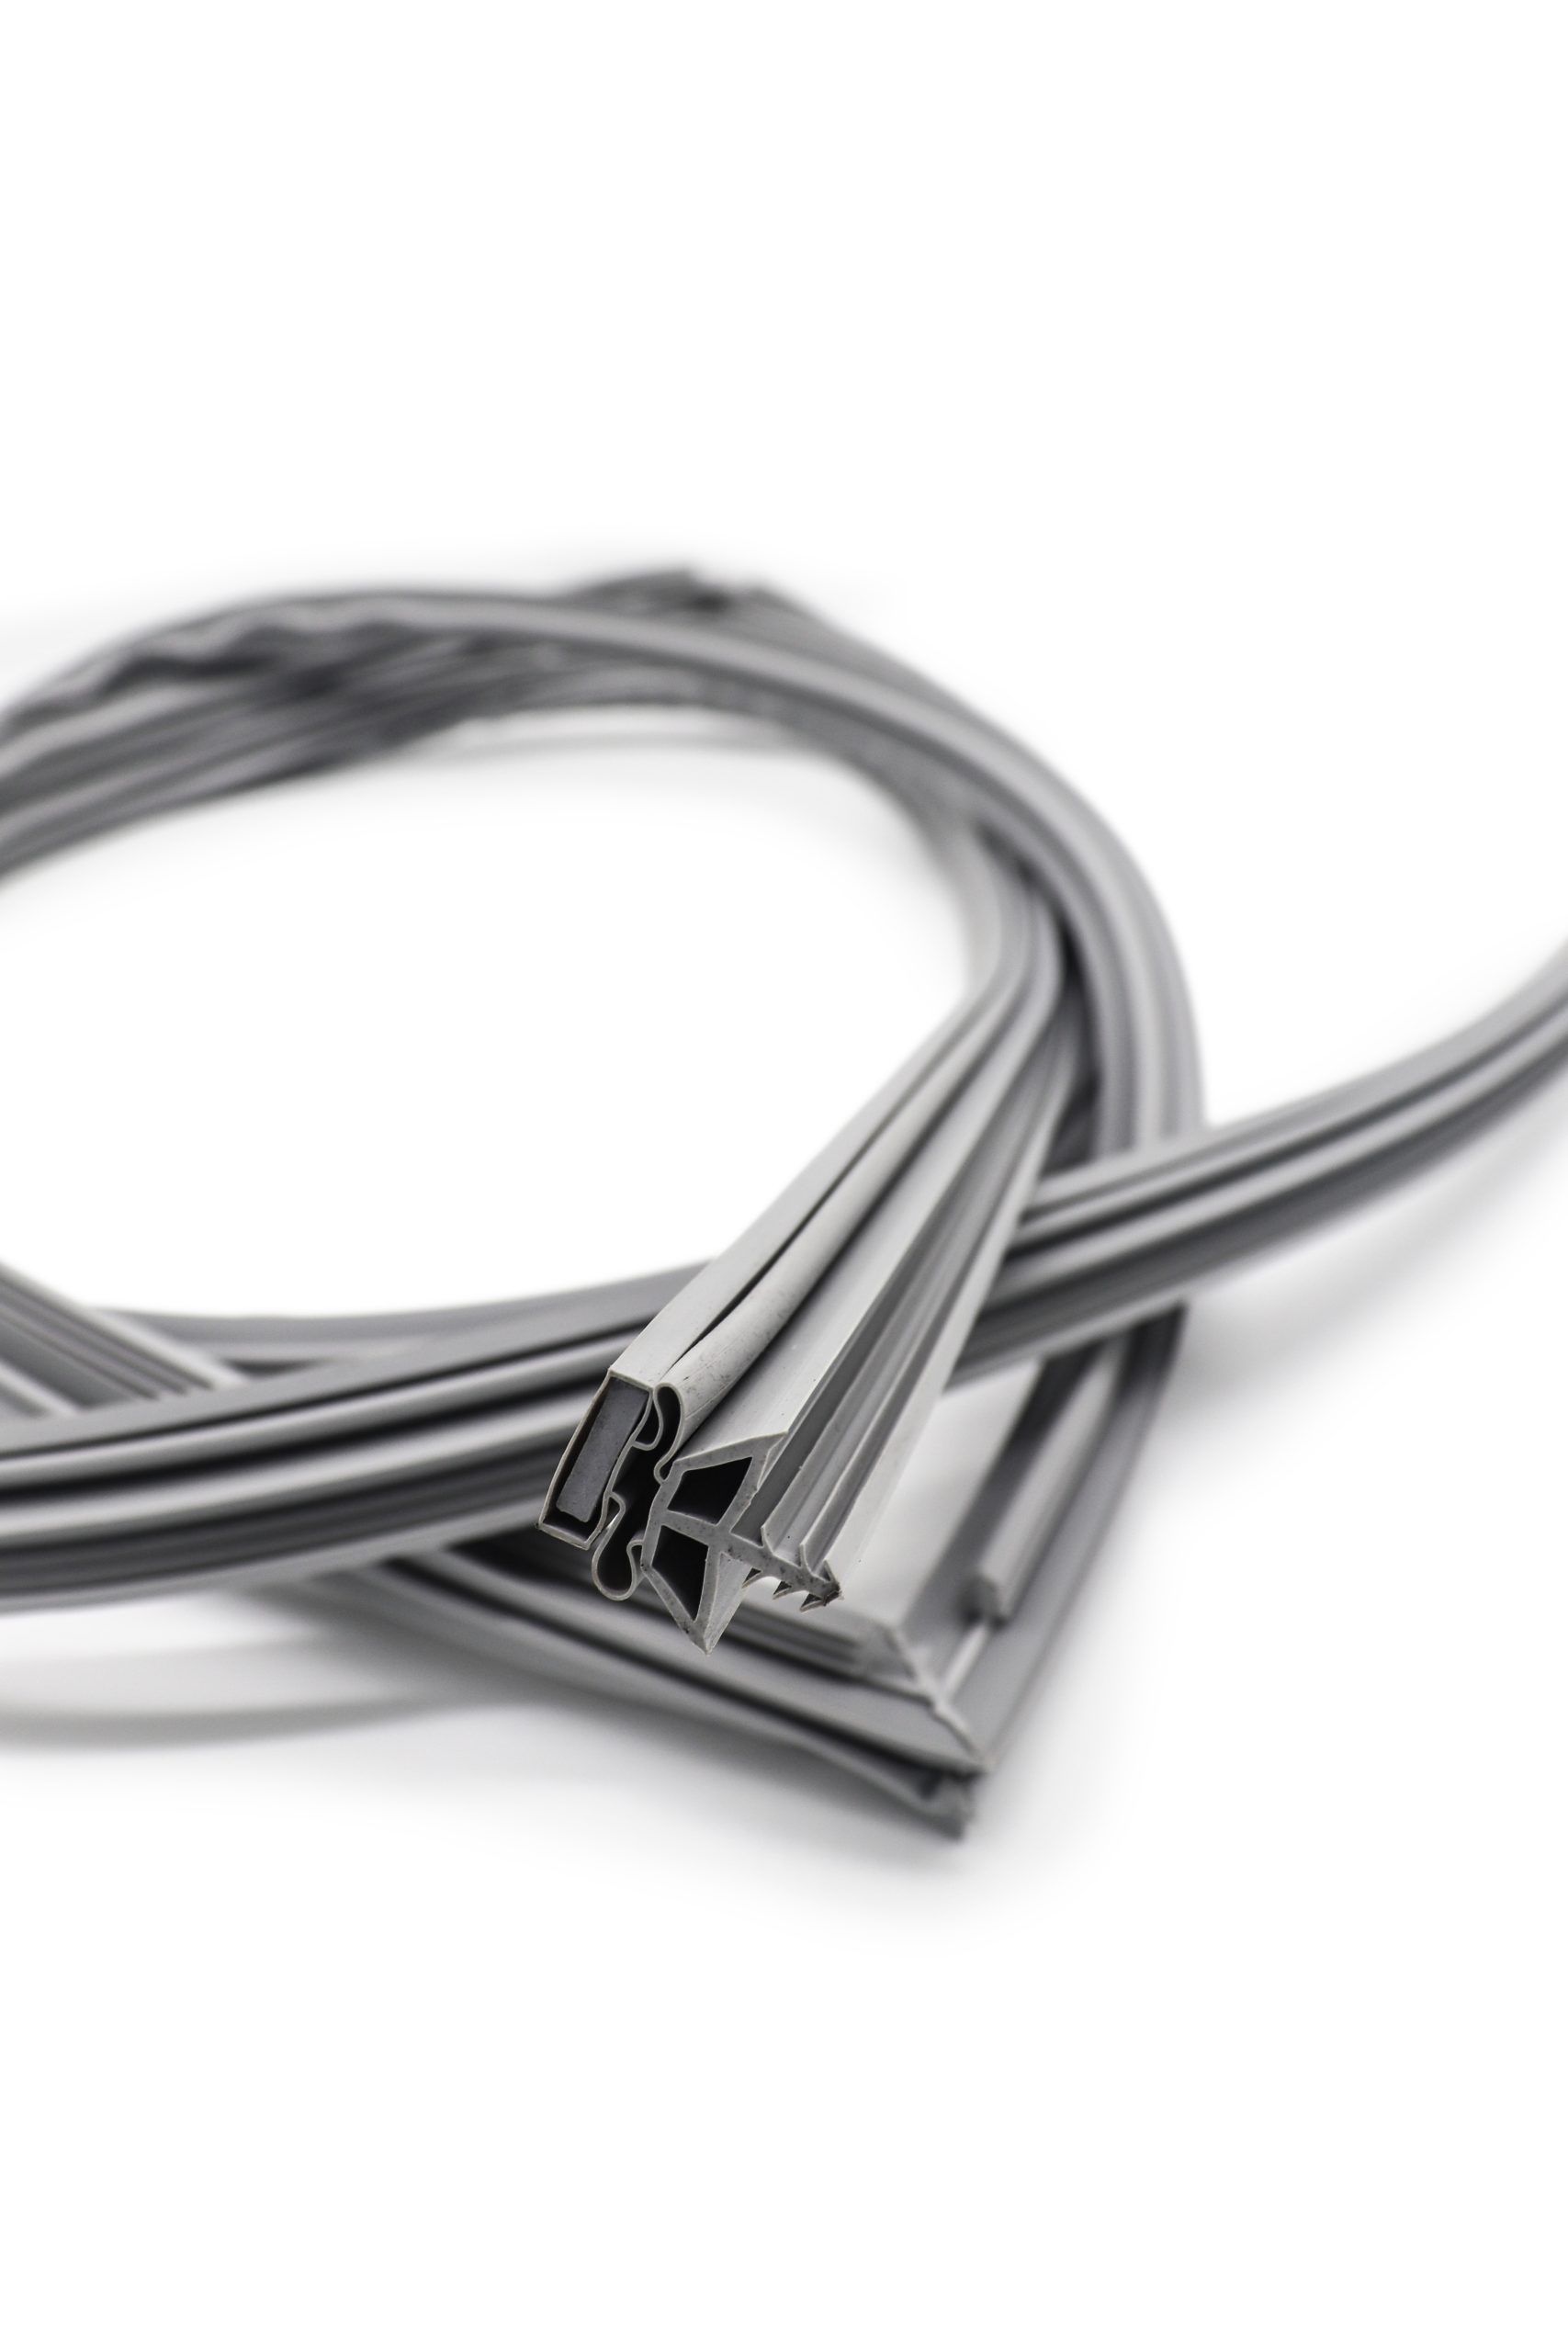
Two gaskets can have the same height/width but different profiles (thickness, shape, sealing bulb size).
If possible:
- take a picture of the gasket cross-section
- measure the width of the dart/snap area
- note if it has a single or double sealing bulb
This step prevents “it fits but doesn’t seal” problems.
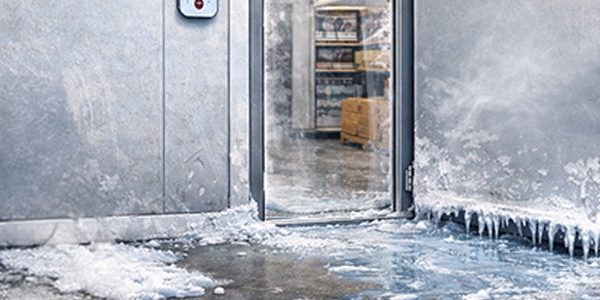
Step 5: Confirm Cooler vs Freezer Application
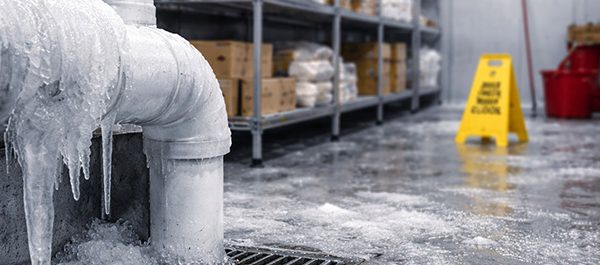
Freezer doors often deal with heavier icing and may require different considerations than coolers, especially with:
- heater wire systems
- extreme temperature differences
- frequent traffic
Make sure you order the gasket designed for your door and application.
The Bottom Line
Ordering the right gasket shouldn’t be complicated—if you measure the right way.
To avoid wasted time and money:
✅ confirm gasket type
✅ measure the door opening area
✅ measure corner-to-corner
✅ match the gasket profile
✅ verify cooler vs freezer use
If you need help identifying the right gasket, ReFridge can help you match what you have so you get it right the first time.