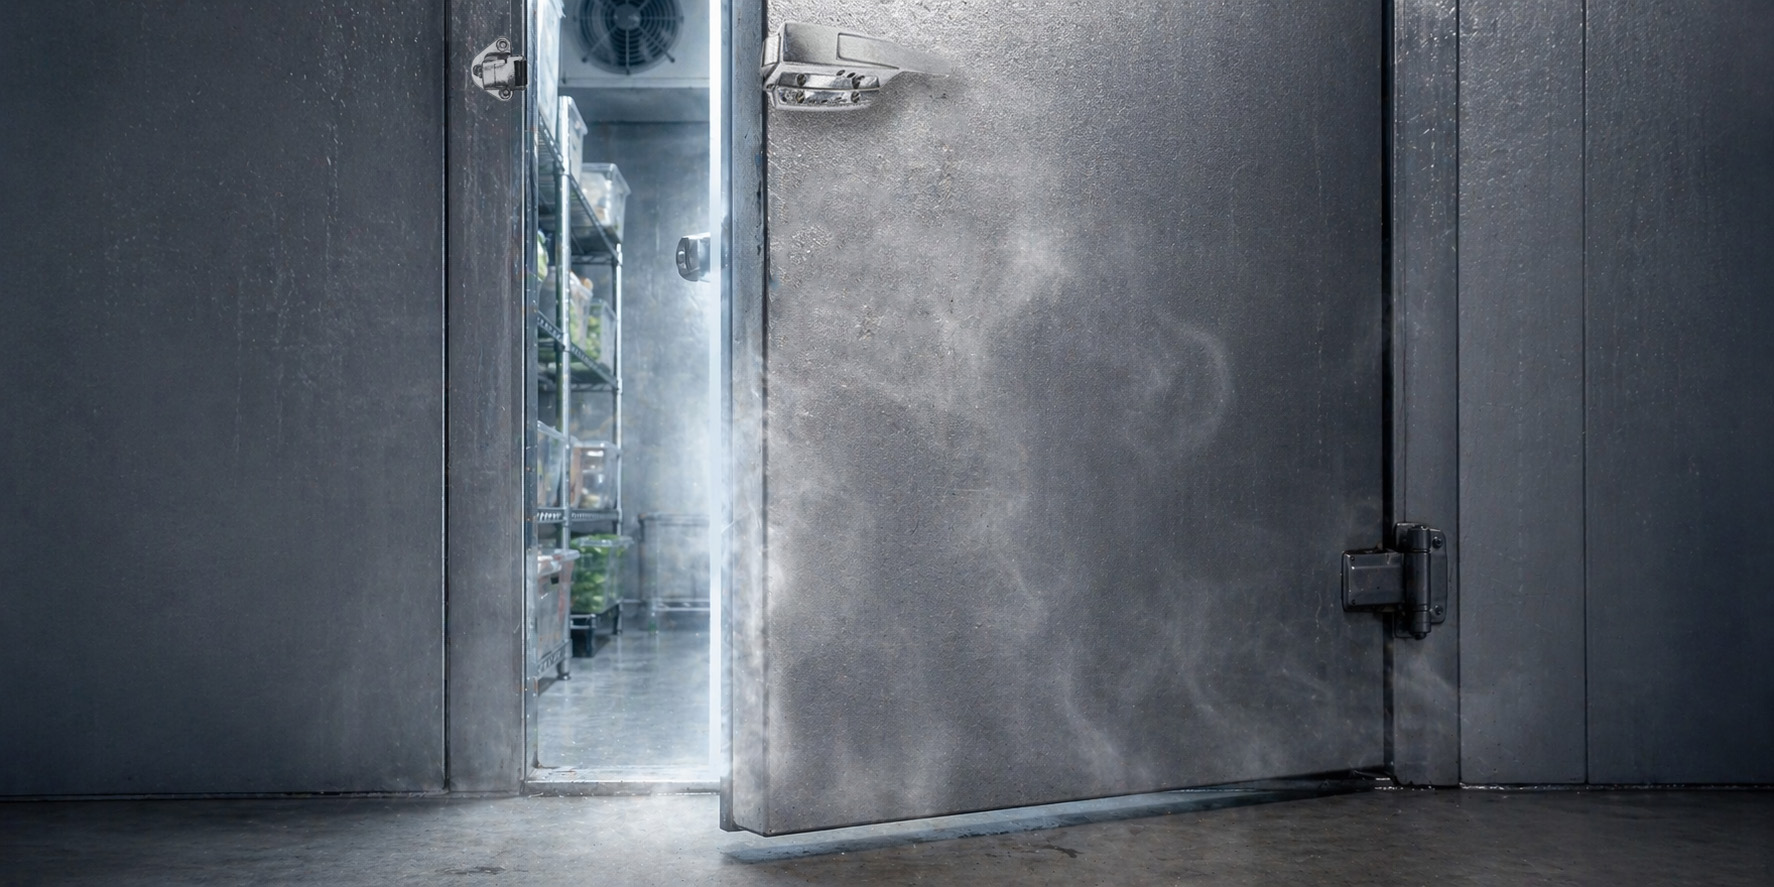
A worn door sweep might seem like a minor issue, but it can lead to bigger problems for your walk-in cooler or freezer. From temperature fluctuations to increased energy consumption, a damaged sweep can affect the efficiency and performance of your refrigeration system.
Knowing when to replace your door sweep, what causes it to wear out, and how to install a replacement can help keep your walk-in operating efficiently.
What Does a Walk-In Cooler Door Sweep Do?
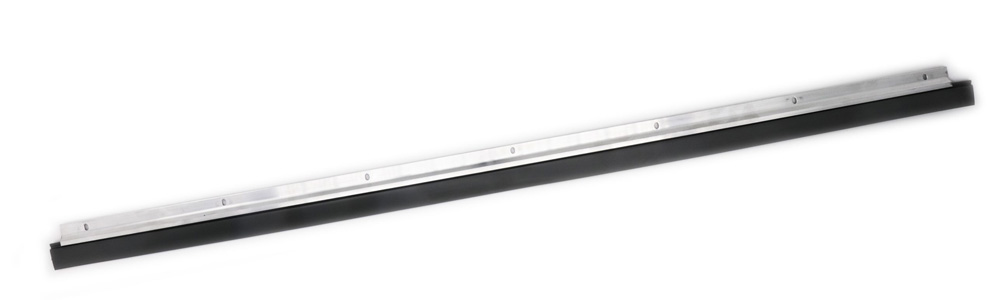
A door sweep is a flexible sealing component installed along the bottom of a walk-in cooler or freezer door. Its purpose is to help close the gap between the door and the floor or threshold.
When properly installed, the sweep helps:
- Reduce the exchange of warm and cold air.
- Minimize moisture and condensation around the doorway.
- Reduce unnecessary strain on the refrigeration system.
- Help maintain consistent interior temperatures.
- Limit the entry of dust, debris, and pests.
Because the door sweep makes frequent contact with the floor or threshold, it’s one of the components that can experience significant wear over time.
5 Signs It’s Time to Replace Your Door Sweep
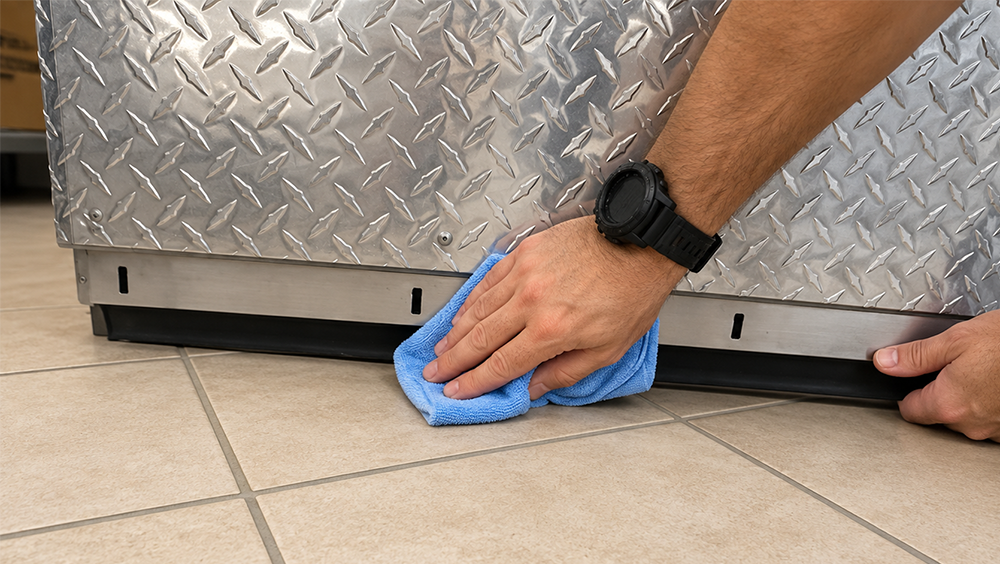
- Visible Cracks, Tears, or Missing Sections
Inspect the sweep for cracking, splitting, or torn material. Even small openings can compromise the seal and allow conditioned air to escape.
- Light or Air Coming Through the Bottom of the Door
With the door closed, check for visible gaps beneath it. If you can see daylight or feel air moving around the bottom edge, the sweep may no longer be sealing properly.
- Excessive Frost or Condensation
Moisture collecting around the doorway or frost forming near the threshold can indicate that warm, humid air is entering the walk-in. A damaged or improperly adjusted sweep may be contributing to the problem.
- The Sweep Is Bent, Hardened, or No Longer Flexible
Over time, sweep material can lose its flexibility or become permanently deformed. If it no longer maintains contact with the sealing surface, replacement may be necessary.
- Increased Energy Consumption or Temperature Fluctuations
A failing door seal can allow additional heat and moisture into the walk-in, increasing the refrigeration system’s workload. Although several issues can cause temperature inconsistencies, the door sweep is a good place to check.
What Causes Door Sweeps to Wear Out?

Door sweeps are designed for regular use, but several factors can accelerate deterioration.
Frequent Door Traffic: Every time the door opens and closes, the sweep may rub against the floor or threshold. In high-traffic environments, this repeated friction can wear down the material.
Uneven Floors or Thresholds: An uneven surface can cause excessive pressure on certain areas of the sweep, resulting in premature wear or tearing.
Improper Door Alignment: A sagging or misaligned door may cause the sweep to drag too heavily or make uneven contact with the floor.
Temperature Exposure: Cold temperatures, moisture, and repeated temperature changes can affect the flexibility and condition of some sweep materials.
Cleaning Chemicals and Physical Damage: Harsh cleaning products, carts, equipment, and everyday impacts can also contribute to deterioration.
Regular inspection and proper door adjustment can help extend the life of your door sweep.
How to Replace a Walk-In Cooler Door Sweep
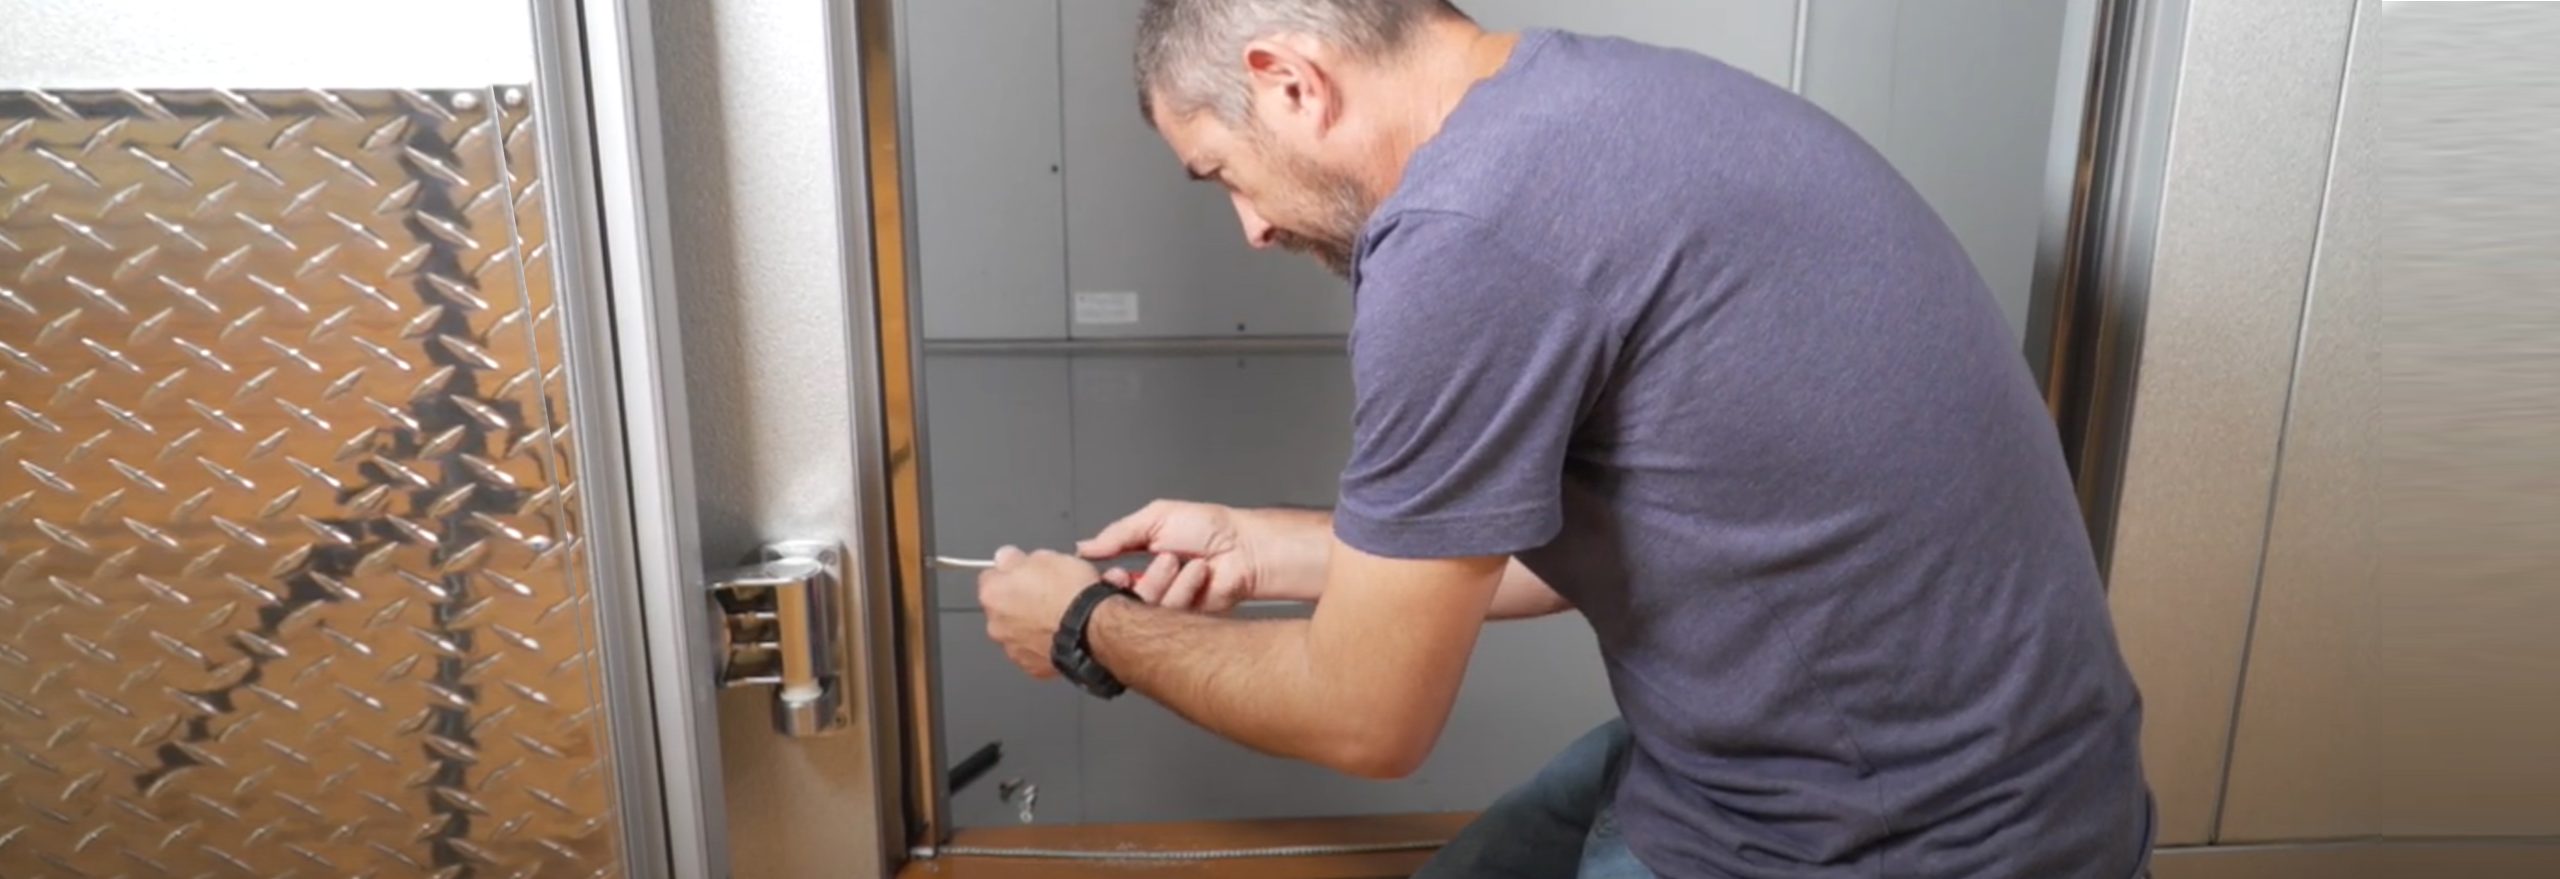
Replacing a door sweep is often a straightforward maintenance task, although the exact procedure depends on the door manufacturer and sweep design.
Step 1: Identify the Correct Replacement
Before ordering, identify your walk-in door manufacturer, door model, and existing sweep style.
Door sweeps are not universal. The replacement must match the door’s mounting method, dimensions, and sealing requirements.
Step 2: Remove the Existing Sweep
Open and safely secure the door.
Depending on the design, the sweep may slide into a retaining channel, fit into a mounting track, or be secured with screws or a retainer.
Carefully remove the existing sweep and any hardware necessary for replacement.
Step 3: Clean and Inspect the Mounting Area
Remove dirt, debris, and residue from the bottom of the door.
Inspect the retaining channel or mounting hardware for damage. Also check the door alignment and the condition of the floor or threshold.
Step 4: Install the New Sweep
Insert or attach the replacement sweep using the appropriate mounting method.
Make sure the sweep is positioned evenly across the bottom of the door and is securely retained.
Step 5: Check the Seal
Close the door and inspect the contact between the sweep and the floor or threshold.
The sweep should make consistent contact without excessive dragging, folding, or preventing the door from closing properly.
Open and close the door several times to verify smooth operation.
Floored vs. Floorless Walk-Ins: What’s the Difference?
One important consideration when replacing a door sweep is whether your walk-in has an insulated floor or is installed directly on an existing building floor.
Although both types of walk-ins need an effective bottom-door seal, the surface the sweep contacts can be different.
Replacing a Sweep on a Floored Walk-In

A floored walk-in includes an insulated floor system, typically with a designated threshold at the doorway.
The door sweep is designed to seal against this threshold or the specified floor surface.
When replacing the sweep:
- Inspect the threshold for damage, debris, or uneven areas.
- Verify that the replacement sweep matches the existing door and threshold configuration.
- Adjust the sweep, where the design permits, to maintain consistent contact without excessive pressure.
- Confirm that the door closes completely and the sweep does not catch on the threshold.
Because the threshold provides a defined sealing surface, achieving consistent contact may be relatively straightforward when the door is properly aligned.
Replacing a Sweep on a Floorless Walk-In
A floorless walk-in is installed directly on an existing concrete or other approved building floor.
Unlike a floored unit, it may not have the same raised or insulated threshold configuration.
This makes the condition of the existing floor especially important.
When replacing the sweep:
- Check the floor beneath the doorway for unevenness, cracks, or worn areas.
- Determine whether the door uses a floor-contact sweep, a separate threshold, or another manufacturer-specified sealing arrangement.
- Select a replacement compatible with that configuration.
- Verify that the sweep maintains contact without dragging excessively across the floor.
- Check for gaps caused by floor irregularities or door misalignment.
The key difference: On a floored walk-in, the sweep commonly seals against a designated threshold. On a floorless walk-in, the sealing surface may be the building floor itself or a separately installed threshold.
The replacement sweep and installation method must be appropriate for that specific configuration.
Can You Replace a Door Sweep Yourself?
Many door sweeps can be replaced with basic tools and minimal downtime, especially when the replacement matches the original design.
However, if the door is sagging, the threshold is damaged, or the new sweep cannot maintain a consistent seal, replacing the sweep alone may not solve the problem.
In those situations, additional door adjustment or professional service may be necessary.
Keep Your Walk-In Sealed with ReFridge
A properly functioning door sweep is a small but important part of maintaining an efficient walk-in cooler or freezer.
Regular inspections and timely replacement can help reduce air leakage, control moisture, and support reliable refrigeration performance.
Whether your walk-in has an insulated floor or a floorless design, choosing the correct replacement sweep is essential.
Need a replacement door sweep?
ReFridge offers walk-in cooler and freezer replacement parts to help keep your equipment operating as intended.